
Would you like to change how text looks across your site? Typography controls your main font, text size, line height, and letter spacing. In Lennox, you can update these settings in the Site Editor so your site feels easier to read and more aligned with your brand.
This is useful when you want to adjust the overall look of your site or change headings, links, buttons, or body text without editing each block one by one.
Changing site typography
To change typography settings, log in to your WordPress dashboard and go to Appearance → Editor. On the Design screen, click Styles, then click Typography.
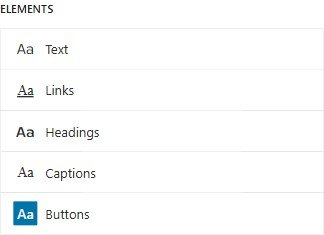
Choose the text area you want to change. In Lennox, you can edit Text for body text, Links for link text, Headings for titles and headings, Captions for captions, and Buttons for button text.
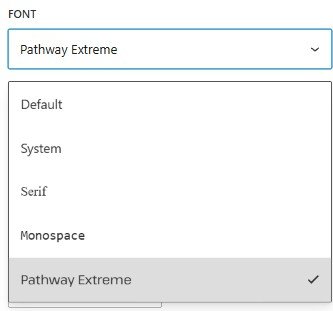
If you want to change the main site font, click Text. Under Font, click the current font and choose the one you want. If needed, you can also adjust Font size, Line height, Letter spacing, or Letter case.
Available font options in Lennox
In the current Lennox setup, the default global font is Pathway Extreme. The theme also includes System, Serif, and Monospace font choices.
Saving typography changes
After you make a typography change, the save button changes to Review 1 change…, or a similar review message if you made more changes. Click that button, check the change list, then click Save.
When the save works, WordPress shows Site updated. and the editor returns to a Saved state.
That's it. To update typography in Lennox, go to Appearance → Editor → Styles → Typography, choose the text area you want to change, adjust the settings, then review and save your changes.